by Liu Jia, Chinese Academy of Sciences

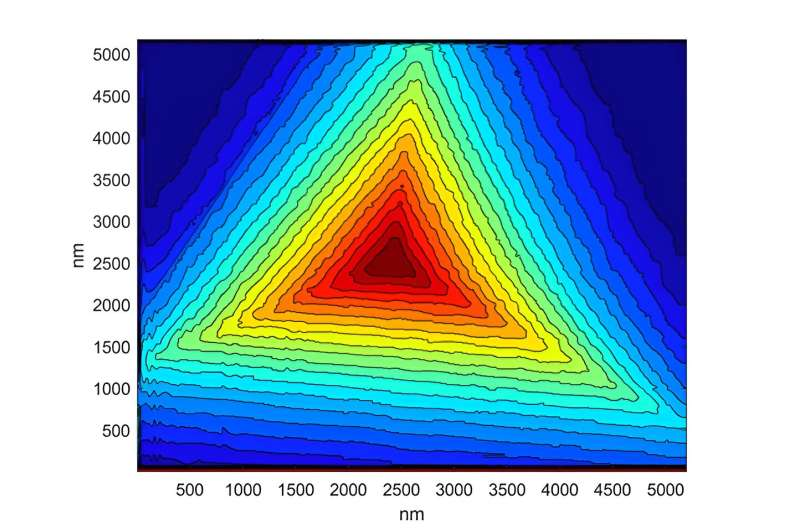
Nanoindentation testing is a high-precision instrumented indentation test technique that has the advantages of non-destructive testing and simplicity. However, researchers found that when testing the same sample with different Berkovich indenters, inconsistency still arises even if the indenters are regularly calibrated. This inconsistency poses challenges in accurately testing material hardness and comparing data from different laboratories.
In a study published in the Journal of Materials Research and Technology, researchers from the Materials Research Center of the Institute of Modern Physics (IMP) of the Chinese Academy of Sciences (CAS) reported that using different Berkovich indenters for nanoindentation testing, excluding fused silica, yields inconsistent results, and they analyzed the reasons behind this inconsistency.
The researchers identified two main factors contributing to the inconsistent experimental results, i.e., defects in the indenter tip and the indentation size effect.
To quantify their impact on experimental results, they developed a finite element model of the indenter using the indenter area function and proposed a method to correct the indentation size effect on the load-displacement curve.
The results indicated that while defects in the indenter tip have a small direct impact on the experimental results, they do affect the results indirectly by influencing the indentation size effect.
The indentation size effect correction method and indenter modeling approach introduced in this study are expected to be utilized in inverse finite element analysis to determine the constitutive relationship of the tested material.
More information: Xianlong Zhang et al, Inconsistent nanoindentation test hardness using different Berkovich indenters, Journal of Materials Research and Technology (2023). DOI: 10.1016/j.jmrt.2023.07.063
Provided by Chinese Academy of Sciences

